It's no great secret that many lolitas are also doll enthusiasts. Poofy dresses, perfectly curled hair...it makes sense given the general doll-like aesthetic of Lolita, and besides, what could be a better twin than a tiny version of you? Brands occasionally come out with doll collaborations, and there are many other beautiful dolls out there to choose from, including Pullips, Blythes, and BJDs. The problem is, you're generally going to have to pay over $100 to get your hands on one (much more if you're interested in BJDs). While it might certainly be worth it, given the detail and quality, it's just not doable for many of us. Personally, I like to squander my hard earned money on pretty things for
me to wear.
So, whilst browsing through a Salvation Army the other day I came face to face with a rather pretty porcelain doll with a full head of red hair and brown eyes, and an absolutely hideous gold dress. Still, I saw potential and given that she has my eye and hair color, I thought I might be able to fix her up and have a doll to twin with. It turned out much better than I'd hoped! I lightened her skin, redid her makeup, and gave her a new wardrobe. I went to Goodwill the next day and picked up two more. I'm very content with the results.
The quality and detail in no way compares to brand dolls, but on the other hand, all they cost was $5 and some time.
So here's a few easy steps for making your own lolita doll.
1. Get thee a victim. Go to a thrift store, a yardsale, a flea market, or your attic/storage. I have no idea if you can find porcelain dolls online for thrift store prices, but it might be worth a look if you can't find anything locally. Things to look for in your doll are the quality and condition of the wig and body. A mangled doll wig is almost impossible to fix, the only remedy I can recommend is to tease it up even more and make a cotton candy-like hairstyle. Clothing that is easy to modify into something nice is a plus, especially if you're not very good at sewing. Unfortunately, if you're interested in a Gothic Lolita doll, you probably won't find usable clothing.
2. Give it a new paint job. If you like your doll's skin and face as is, skip this step. If you intend to lighten, darken, or otherwise paint the doll, remove all clothing and do this step before making any clothing. Tie back the hair to keep it from getting in the paint. I used basic acrylic paint, I'd say anything else that isn't oil or latex based would work. It will take several coats to get even color, and you want to try to be as smooth as possible to avoid lumps and imperfections. If you're going for pallor, don't do straight white, mix in yellow and red for a more natural pale. Let each coat dry in between, and let the skin dry entirely before adding makeup and moving onto clothing.
3. If you've found a doll with usable clothes, you're lucky! Make you needed modifications. If not, a cupcake shaped skirt, puff sleeves, and bloomers is surprisingly easy. It's pretty much the same process. Note that I am not a professional seamstress and I just do whatever I find works. Also, the doll clothing I make isn't removable.
Here's how to make a basic lolita outfit.
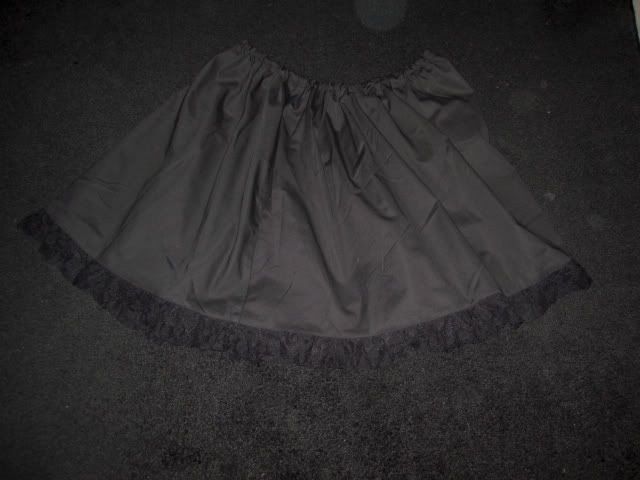
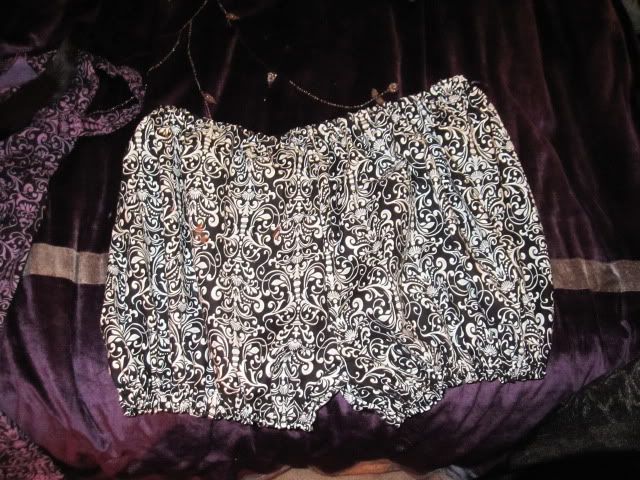
To make a full skirt, cut a strip of fabric as tall as you'd like your skirt to be long, and about 3 times as wide as the doll is. Hem both long sides, and then sew the short sides together, so you basically have a fabric circle. Run a thread through the top to make a drawstring, tighten it around the dolls waist, and tie it off. Once you've got the skirt in place, sew the pleats down. To make the bloomers, do the exact same thing, just attach the second skirt underneath the first skirt, and then cut the second skirt in half up to the crotch. Sew the sides of the separate halves to together to make the legs. Make a drawstring at the bottom of each leg to make them poof. Next, make the top. I make mine very simply, just cut two fabric squares, hem the bottom of each, and sew the sides together on the doll, under each arm. Skip over the arms to make the armholes. On top of the shoulder, continue to sew the halves together. Sew the bottom of the shirt over the top of the skirt. Next make the sleeves, same thing as the skirt and bloomers, with a drawstring at each bottom. They can be short or full length. Sew them to the armholes. The only thing you ought to have left now is the collar. You can make it pointed or round collared. Cut an inner circle to fit the dolls neck, and an outer circle to the desired width. Hem it before attaching- and you're done.
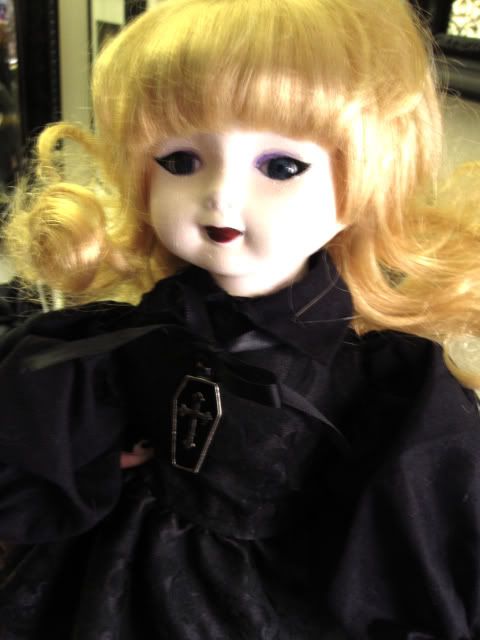
Here's some pictures of my dolls, before and after.
A Gothic Lolita doll...
And a Guro Lolita doll. Fortunately, I only had to hem her dress.
I unfortunately didn't get any "before" pictures of the red haired doll.